Propagation bowl

  • 6.00
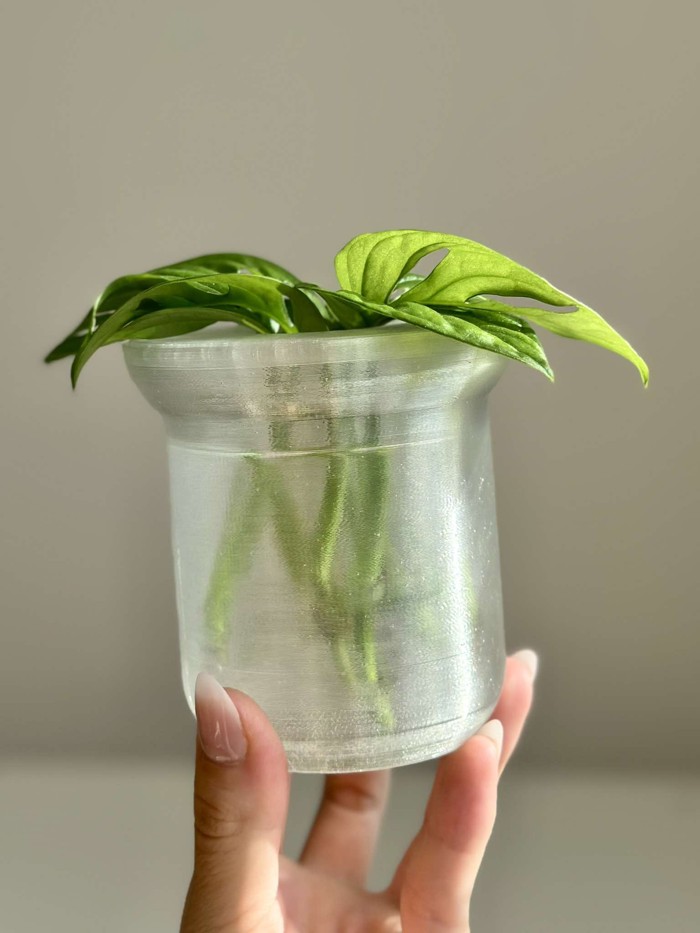
Hand holding a 3D-printed translucent propagation bowl filled with water and monstera cuttings.
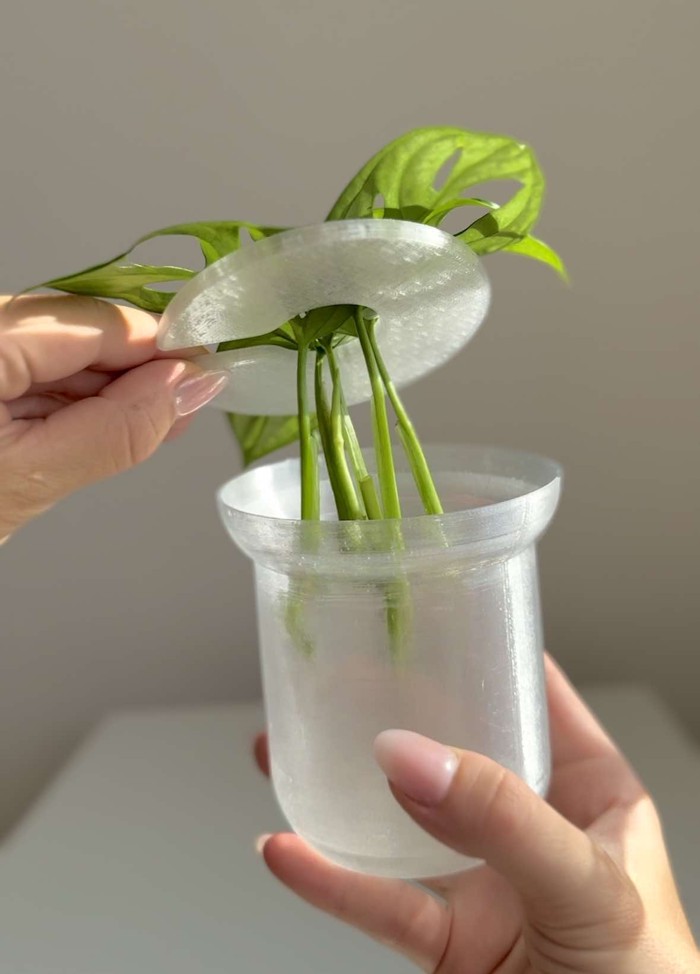
Hands lifting a circular 3D-printed holder with monstera cuttings out of a translucent propagation vase.
Hand holding a 3D-printed translucent propagation bowl filled with water and monstera cuttings.
Hands lifting a circular 3D-printed holder with monstera cuttings out of a translucent propagation vase.
Hand holding a 3D-printed translucent propagation bowl filled with water and monstera cuttings.
Invented bySimona - simiu3d

Simona - simiu3d

View store

Description

A simple plants propagation bowl with a practical holder. How to Make a Watertight 3D Print?💧 Use PET-G or PCT-G filament: PET-G is perfect for watertight prints due to its excellent layer adhesion and low shrinkage. Increase wall thickness: Use at least 3 perimeters. Lower layer height: Print at 0.1mm-0.2mm layer height for smoother surfaces and fewer micro-gaps. Adjust extrusion settings: Slightly over-extrude by increasing the flow rate by 2-5% to improve layer bonding. Seam alignment: Set seam alignment to random to avoid a continuous line along the same seam, which can cause leaks. If your slicer allows it, try using the Scarf Joint Seam, which overlaps layer transitions, creating a stronger, watertight seal. Seam gap settings: Ensure seam gap settings are tight or set to zero to minimize any gaps at the seam for better watertight integrity. Slow down print speed: Print at 30-50mm/s to allow better control of material flow and prevent gaps. Use 100% infill for the base: If printing a container, solid infill prevents leaks at the bottom.

$3.00 / month

Propagation bowl

  • 6.00
Invented bySimona - simiu3d

Simona - simiu3d

View store

Description

A simple plants propagation bowl with a practical holder. How to Make a Watertight 3D Print?💧 Use PET-G or PCT-G filament: PET-G is perfect for watertight prints due to its excellent layer adhesion and low shrinkage. Increase wall thickness: Use at least 3 perimeters. Lower layer height: Print at 0.1mm-0.2mm layer height for smoother surfaces and fewer micro-gaps. Adjust extrusion settings: Slightly over-extrude by increasing the flow rate by 2-5% to improve layer bonding. Seam alignment: Set seam alignment to random to avoid a continuous line along the same seam, which can cause leaks. If your slicer allows it, try using the Scarf Joint Seam, which overlaps layer transitions, creating a stronger, watertight seal. Seam gap settings: Ensure seam gap settings are tight or set to zero to minimize any gaps at the seam for better watertight integrity. Slow down print speed: Print at 30-50mm/s to allow better control of material flow and prevent gaps. Use 100% infill for the base: If printing a container, solid infill prevents leaks at the bottom.

$3.00 / month